Gerrit Niezen

Making

Feature image

So the double-decker bus I mentioned yesterday is a success! It printed without any issues, and the trickiest part was to find the right diameter metal pins to use as axles for the wheels. I ended up using a couple of nails that I shortened a bit, and then used a gel-based super glue to hold them in place. I think it looks pretty good!

#Making

Feature image

I mentioned in my previous posts that I've already printed a Flexi Rex, a bathtub boat and a low-poly Pikachu. Yesterday I also printed a cookie cutter in the shape of a Christmas sock.

So far they've been single prints. I want to try something a little bit more ambitious. My son's really into buses at the moment, and I just came across this double-decker bus with a separate shell, chassis and wheels. I'm busy printing the bus shell in blue PLA at the moment, and will switch to grey PLA for the chassis and the wheels. Then I'll have to assemble it and will let you know how it turns out in another post.

#Making

Earlier this week I mentioned that I'm printing toys for my son's advent calendar. The Flexi Rex and bathtub boat looked great, but I'm still using the original grey PLA filament that my 3D printer shipped with.

I thought the low-poly Pikachu would be a nice next print, and wanted to switch to green ABS to do that. Changing filaments was so smooth I could hardly believe it! First you select the Unload filament option. The printer will notify you to first pre-heat the nozzle if you haven't done it yet. A couple of seconds later and you can just pull the filament out. To load new filament, you just select the Auto-load filament option. Again it check if pre-heating is required, after which you can just insert the tip of the new filament when you're ready. It feeds through automatically, and even asks you if the colour if the filament looks correct, so that you can feed through more if necessary. Man, I like it when they make things so easy!

#Making

Feature image

It's my son's second Christmas, so now that he is starting to get excited about the whole experience, we decided to make him an advent calendar. We bought a series of bags on a string that we can later re-use to hang some photos, and want to fill the bags with alternating toys and treats. The toys will be 3D-printed, and I'm basically just selecting popular designs from the Toys category on Thingiverse.

Yesterday he got Flexi Rex and tomorrow, if the print goes well, he'll get a bathtub boat.

Flexi Rex

#Making

I have a Next Thing Co. CHIP single board computer (unfortunately discontinued) that I use to run homebridge, in order to connect HomeKit to my Hive home setup. So that I can control my thermostat and lights using Siri on my phone you see!

What is a little bit annoying is that the flashing lights on the CHIP makes my study look like a disco at night. I want a little case that covers the lights – Thingiverse to the rescue! There are quite a few designs for CHIP cases, so I decided to settle on the one that has been made the most.

It's currently printing on my Prusa i3 MK3 and should take around 30 minutes. Just before printing the printer let me know that there's a new firmware version available, probably because I upgraded the slicer software. Having a really long USB type B cable makes updating the firmware super easy, as I can connect the computer to the printer without having to move things around.

#Making

Feature image

My parents are visiting at the moment, and I wanted to print them some useful things that they could use. My dad needed a shoe horn, so I found this one that fits the bill, and it printed very nicely. The weight feels good and it's just the right width.

My mom wanted a picture frame that could go on the fridge using magnets. I found this OpenSCAD design that is easily customisable, so I was able to create exactly the size and frame width that I wanted. Printing large flat things can be tricky on a 3D printer, but the i3 MK3 handled it quite well – I just had to use the optimal settings instead of the fast settings.

#Making

Feature image

There is a bedroom wall in our new house that is missing some skirting boards. It seems reasonably simple enough to do-it-yourself, so I watched a 2-part series on YouTube explaining how to fit skirting boards. One tip they had in there was to use a mitre box to help make straight cuts at 45-degree angles in the wood.

Now, I've never used a mitre box before, so I went to my local B&Q to have a look at the options. Given that my skirting boards are more than 16 centimetres high, I don't think a suitable one exists – they are all too low. So I decided to check out Thingiverse to see if there is a parametric version that I can customize for my needs. Low and behold, there is!

It took me less than 5 minutes from downloading the file, editing the variables in OpenSCAD, rendering a new .STL file and generating g-code in Prusa Slic3r, to starting the print. The estimated print time was 12 hours, so it is quicker than ordering from Amazon, and definitely much cheaper than buying it somewhere. I should remember to post an update here if it works!

#Making

Feature image

A quick round-up of three of my favourite makers on YouTube at the moment.

Colin Furze

Colin is arguably one of the most famous makers on YouTube, with over 6 million subscribers. He builds insanely cool (and dangerous) things. Here is Colin building a jet-powered scooter for his son:

Estefannie Explains it All

I've written about Estefannie before. She has some great electronics builds on her channel, and is not afraid to share her mistakes. Watch her awesome three-part series on building a Daft Punk helmet for Maker Faire here:

Wintergatan

Wintergatan is a Swedish instrumental band. Band member Martin Molin documents the entire process of building the second version of their famous marble machine in his weekly videos:

#Making

Feature image

I've been enjoying a new e-mail newsletter by James Bowman of Excamera Labs. James is the creator behind awesome electronics projects like the Gameduino 2, a full colour touchscreen for Arduino.

He has a bunch of new projects at the moment, like the SPIDriver that let's you connect to SPI devices from your computer. And some of these projects he is building at home, as he explains in the latest edition of the newsletter:

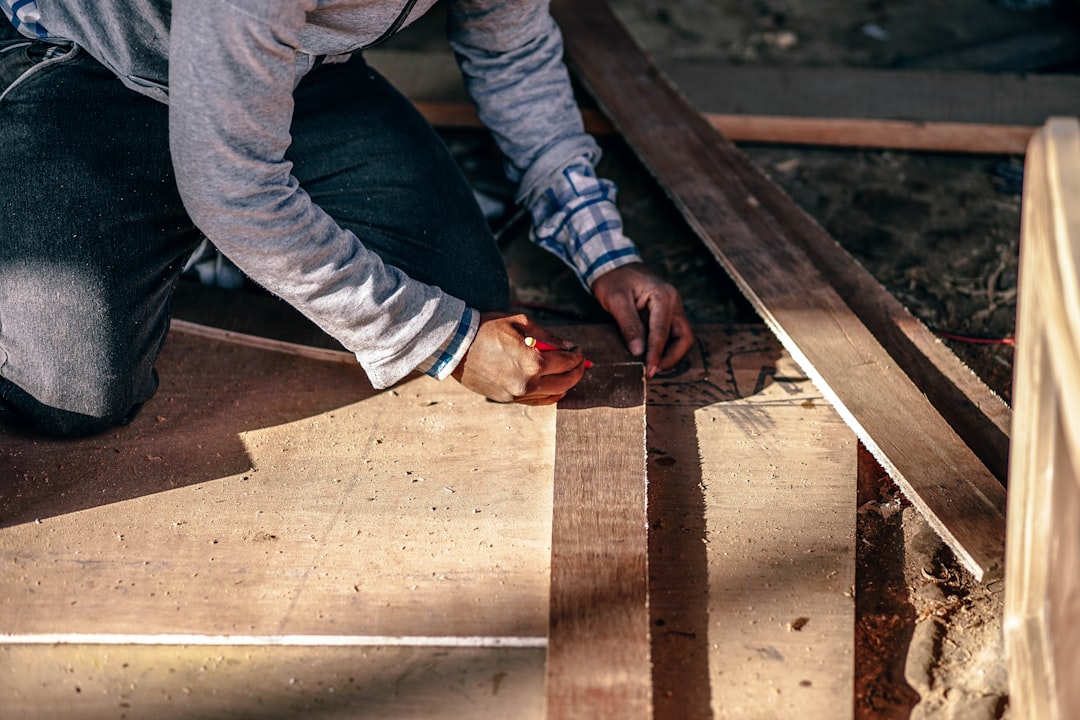
For short-run through-hole PCB assembly, there's not much point in having these made abroad vs. making them yourself. Either way an 18-year-old with a soldering iron will be doing the work.

He pays his son $12 per hour for assembly and here is his argument on why it's a good thing:

It's also good just to get young people involved. Often when we're thinking of ways of introducing people to technology, we think of putting them in class. They already spend a lot of time in class! Much better to engage them in something practical and slightly unfamiliar. They seem to find it satisfying, and catching the inevitable failures gives them a hands-on insight into how things work.

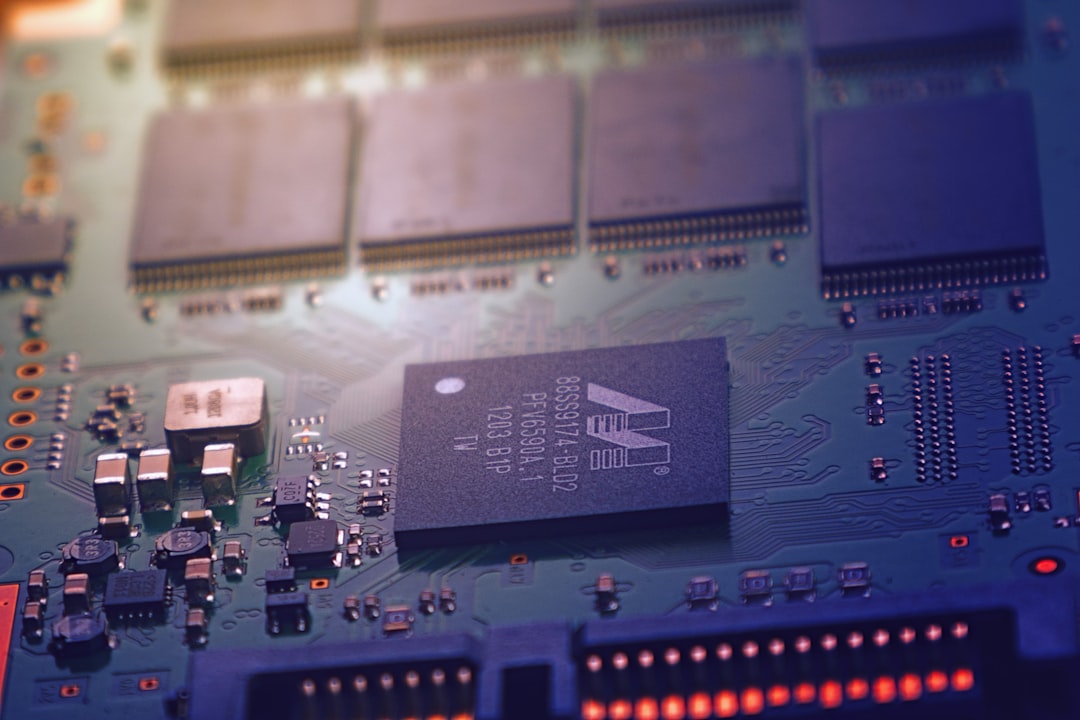
I don't know what your high school work experiences were like, but I feel like maybe he's got a point. He goes on to explain how, due to Chinese manufacturers now selling directly online, getting electronic components doesn't have to be expensive. Buying 350 components of specific type would cost him $144 from a US distributor, while he could buy it directly from the Chinese manufacturer for $15.

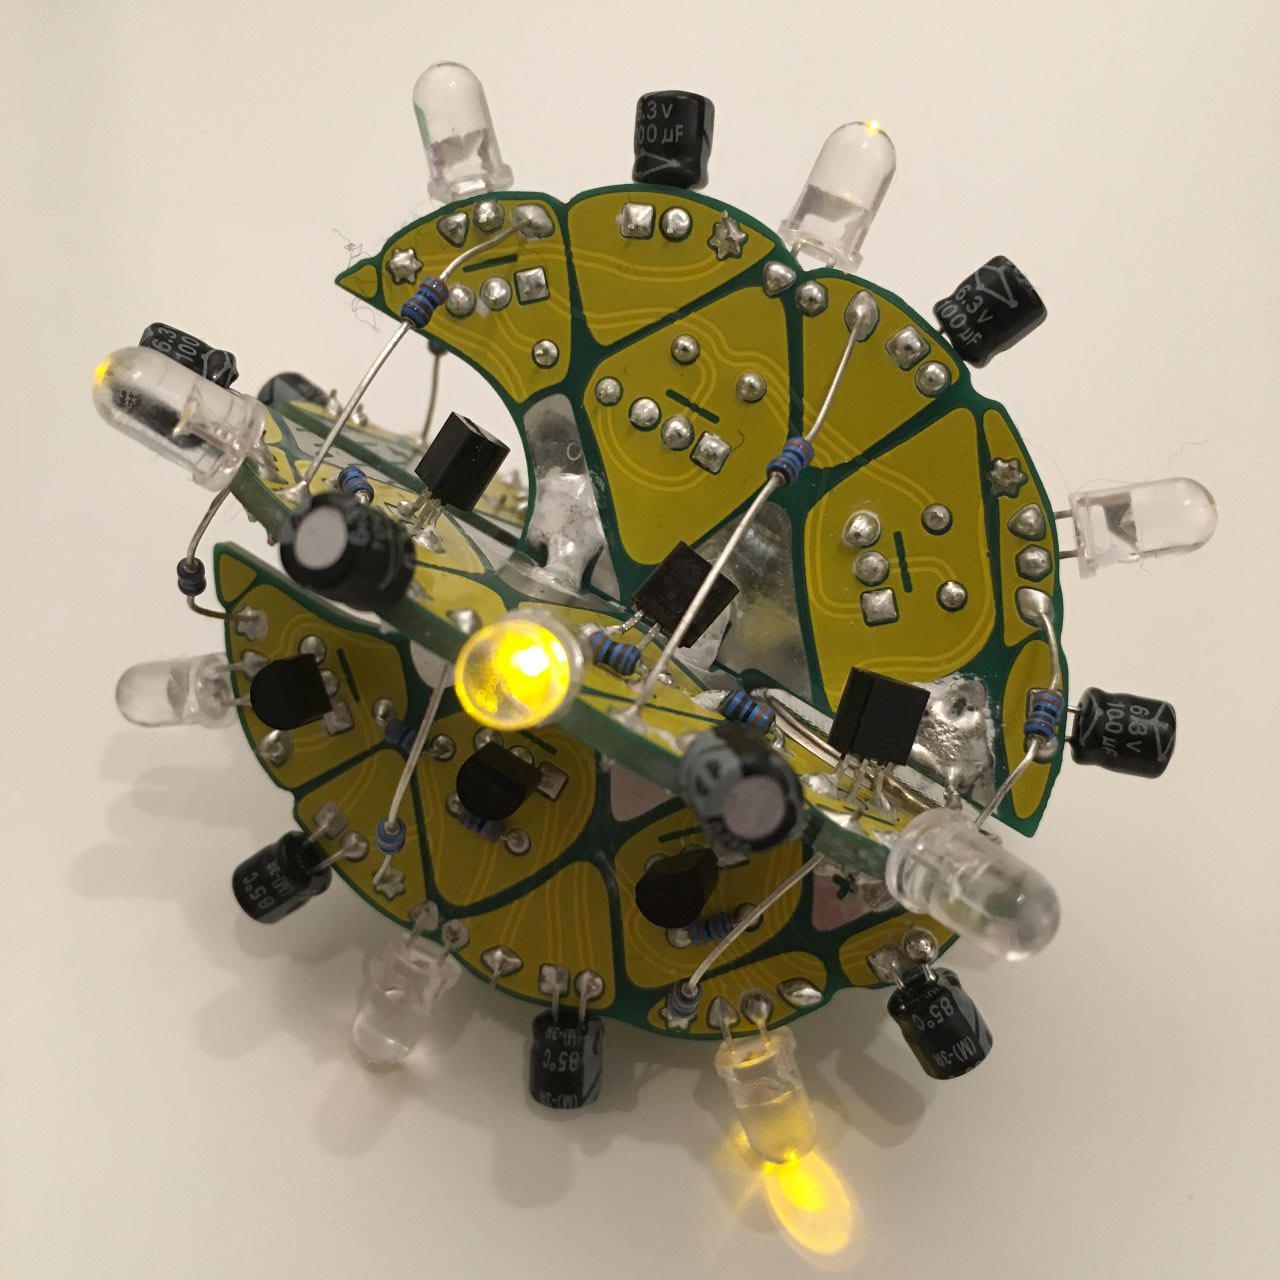
In an earlier edition of the newsletter he describes how to make a “placement stencil” using a laser cutter, which makes it very easy to place components on a PCB by hand. Stencils for applying soldering past are also cheap nowadays, and you could get an IR reflow oven for a reasonable price as well.

In short, if you're making hundreds (instead of thousands) of something, it may just be easier and cheaper to do it yourself, even if said something is electronics.

#Electronics #Making

Feature image

In December I got the Ananas soldering kit as part of a Boldport Club subscription.

IMG_4674

The Ananas is a three-dimensional PCB with LEDs that flash with different timings. It was great fun soldering it together in January, but I wanted a nice stand for it so that it doesn't fall over.

Luckily someone else had the same idea and posted a stand design to Thingiverse. I just printed it out and it works great!

ananas

#Making