I came across this article via the amazing Dense Discovery newsletter. What is meant with being “more agentic” is that things you may consider to be built-in personality traits are actually learnable skills. Here are some quotes that resonated with me:
In my way of thinking, radical agency is about finding real edges: things you are willing to do that others aren’t, often because they’re annoying or unpleasant.
This is a good way to answer the question: “But what can I do?” What are you willing to put up with, or even enjoy, that other people don't? Go and do that then.
In many contexts, the way to get good feedback is to give people a way to provide it anonymously. Anything else creates friction by layering on social dynamics. To get honest feedback, you want to make it as comfortable as possible for people to give it.
If you leave a comment on my blog, you don't have to use your real name or an email address. While it will need moderator (me) approval to appear on the website, I will see it. Consider this another invitation to please give me some feedback on my writing! Should I stop? Should I write about something else? What would you like to see more of?
Asimov Press is a great science newsletter, with long reads on a wide variety of science-y topics. This specific article focused on Cultivarium, a focused research organization that built a custom electroporator to engineer non-model organisms at scale. Electroporators are used to insert DNA into cells.
Scientists have estimated that about one trillion microbial species inhabit the Earth, of which 99.999 percent remain undiscovered. Of those that have been cataloged, perhaps a few thousand have been grown in a laboratory.
Sit with that number for a second. There's so much still to be discovered, that I feel we should all be out there sampling for microbes and sequencing them. I hope we can make this cheaper and easier with open science hardware. See for example this thread on the AMYBO forum where we discuss doing DNA sequencing at home.
For a recent study, they created a robot that finds working conditions to both grow and engineer non-model microbes. They are giving these growth protocols away for free, in the hopes that others will use them and begin studying a wider range of lifeforms on Earth.
I found a preprint where they describe this electroporation robot. I haven't had a chance to read it yet, but I've also discovered Cultivarium's portal with growth protocols, strain information and what they call lab lore (user-contributed observations).
They used this Bayesian optimizer on Cupriavidus necator, a bacterium that converts carbon dioxide from the air into a biodegradable plastic, called PHA. Over three cycles of active learning, the model found transformation efficiencies 8.6-fold higher than anything previously described in the literature.
This Bayesian optimiser is described in the preprint linked above and the code is available on GitHub.
their work feels deeply important because it is by tinkering with non-model organisms that biotechnologists have, historically, found the most useful tools.
Yes! I think this is so exciting, and I really hope more people will get involved with tinkering with non-model organisms. Citizen scientists may even find this easier than academics, since they can take more risks with not getting things right the first time.
A lot of groups and projects break apart because of internal conflict. This article has some pointers pointers on how to engage in productive conversations to keep groups together. While it's focused on mutual aid and resistance work groups, I think these pointers are helpful for open-source projects as well.
People’s small mistakes or infractions might stir up old histories of times we were betrayed or not listened to across our lives. How can we be gentle with ourselves and others when everyone’s on edge, trying to get by?
So true, and good to keep in mind when someone reacts differently to how you might expect. You don't know what your actions can trigger in other people, so always be kind.
They joined work they really cared about, something went wrong that made them feel betrayed or left out or disappointed, and that is the pain of the burnout. It wasn’t just the hard work; it was the loss of trust, the feeling of being blamed or stigmatised, or not being listened to.
Not being listened to or left out – how often does that happen to you?
A fundamental abolitionist idea is that no one is disposable. This means practising actually believing that it’s possible for people to change.
This is also a deeply Christian idea. If people can change, why are we so easy to dismiss them, and not do the work to help them and make things a little bit better for everyone.
the total donated to US charities of all kinds in 2020 was $471 billion, nearly a third of it in increments of less than $5,000. There was also $68 billion in reported financial support sent to family members living in other countries, tens of billions in crowdfunding, $200 billion in volunteer labor at service organizations, and nearly $700 billion in wages for the paid employees who chose to take jobs delivering those services over jobs where they might have earned more.
The people making the world a better place is us, not the billionaires. They're a drop in the bucket. Don't get me wrong: I think the work that MacKenzie Scott is doing is great. As she herself point out in her essay, it's but a tiny fraction of the personal expressions of care being shared into communities.
Everything adds up, so when you get that opportunity to help someone, to make even a small difference, take it. Making a difference by working together is our superpower – don't let the fools tell you otherwise.
This week I didn't actually highlight any new articles I've been reading, nor did I finish any of the four (?) books I'm reading at the moment. I am however, very busy with bunch of different projects, one of which I'd like to share.
Gas fermentation with an open-source bioreactor
Back in 2022 I wrote about open sourcing precision fermentation. While precision fermentation is about modifying microbes like yeast and bacteria to create products such as dairy proteins (whey, casein), fats or insulin, gas fermentation refers to using gases (e.g. carbon dioxide and hydrogen) as the main inputs to growing the microbes.
What makes gas fermentation interesting? You don't need traditional feedstocks (e.g. sugars from corn) and can basically grow stuff from thin air! In reality you need to get the carbon dioxide and hydrogen from somewhere, and green hydrogen is made using electricity. So if I'm growing protein using this method, I'd call it electro-protein.
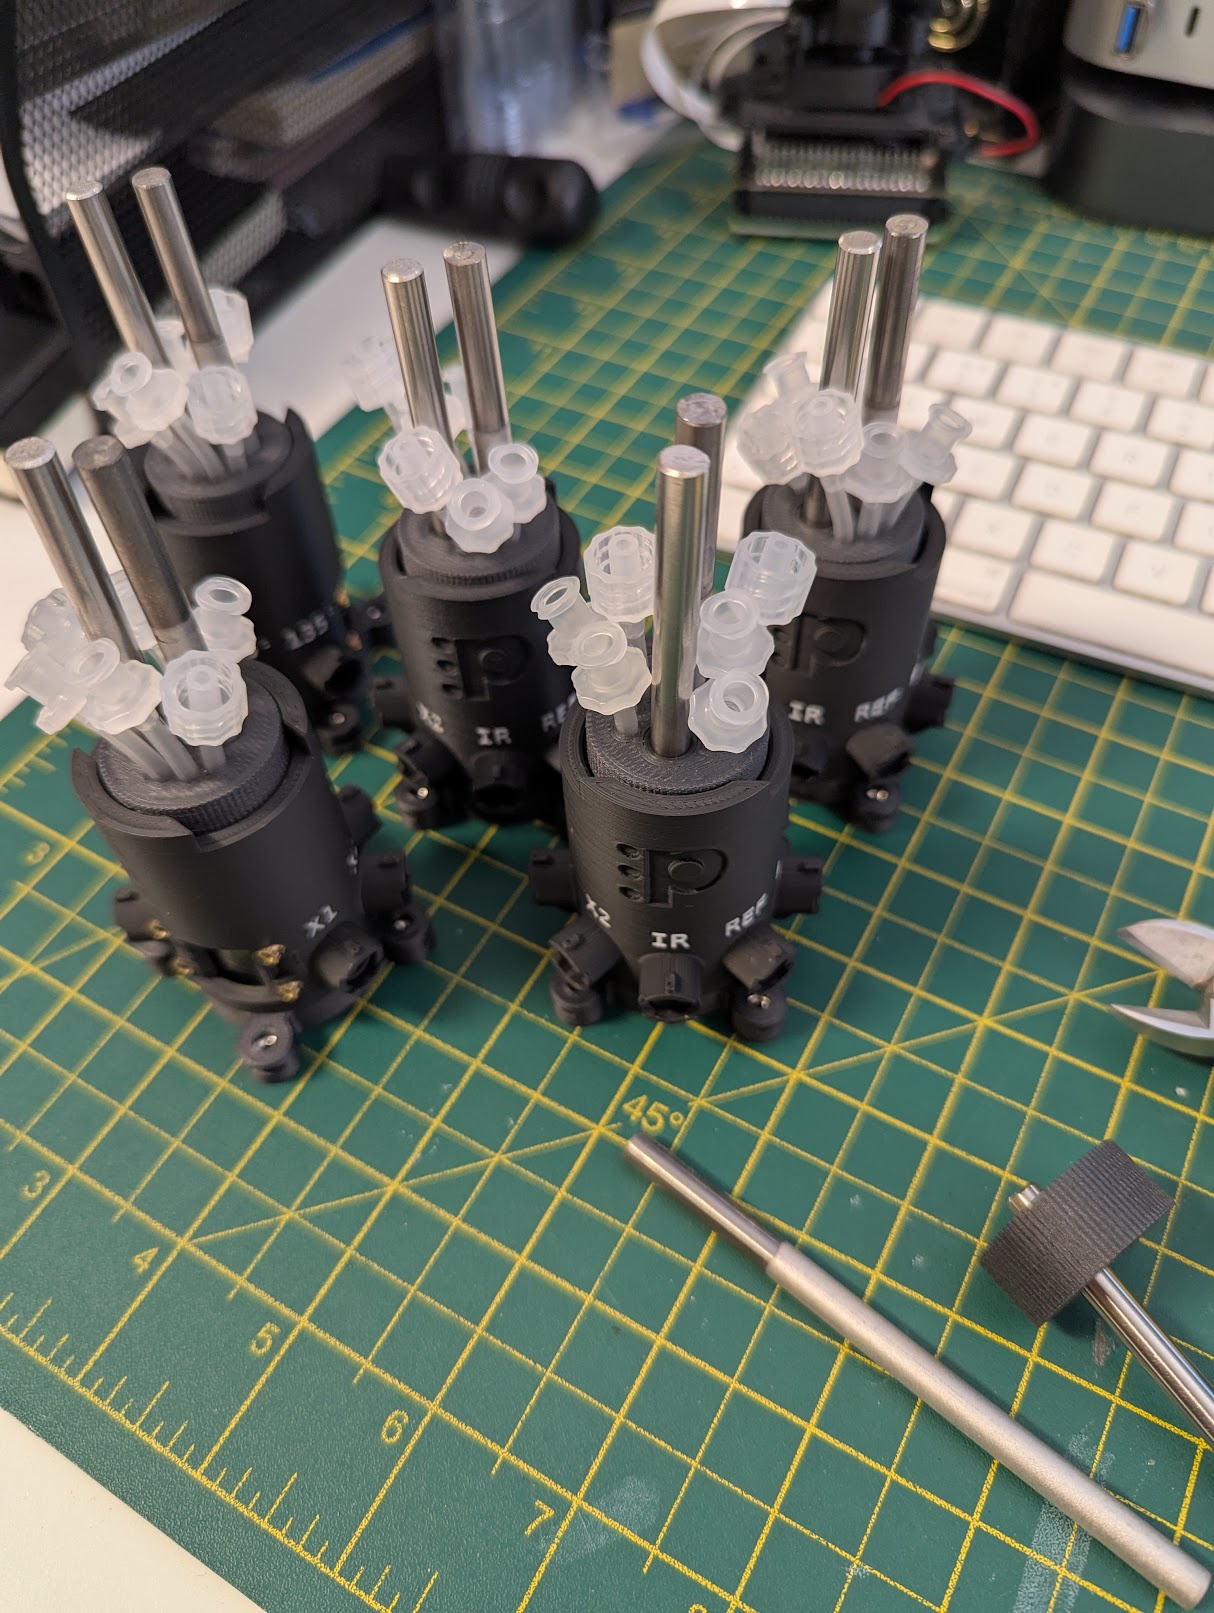
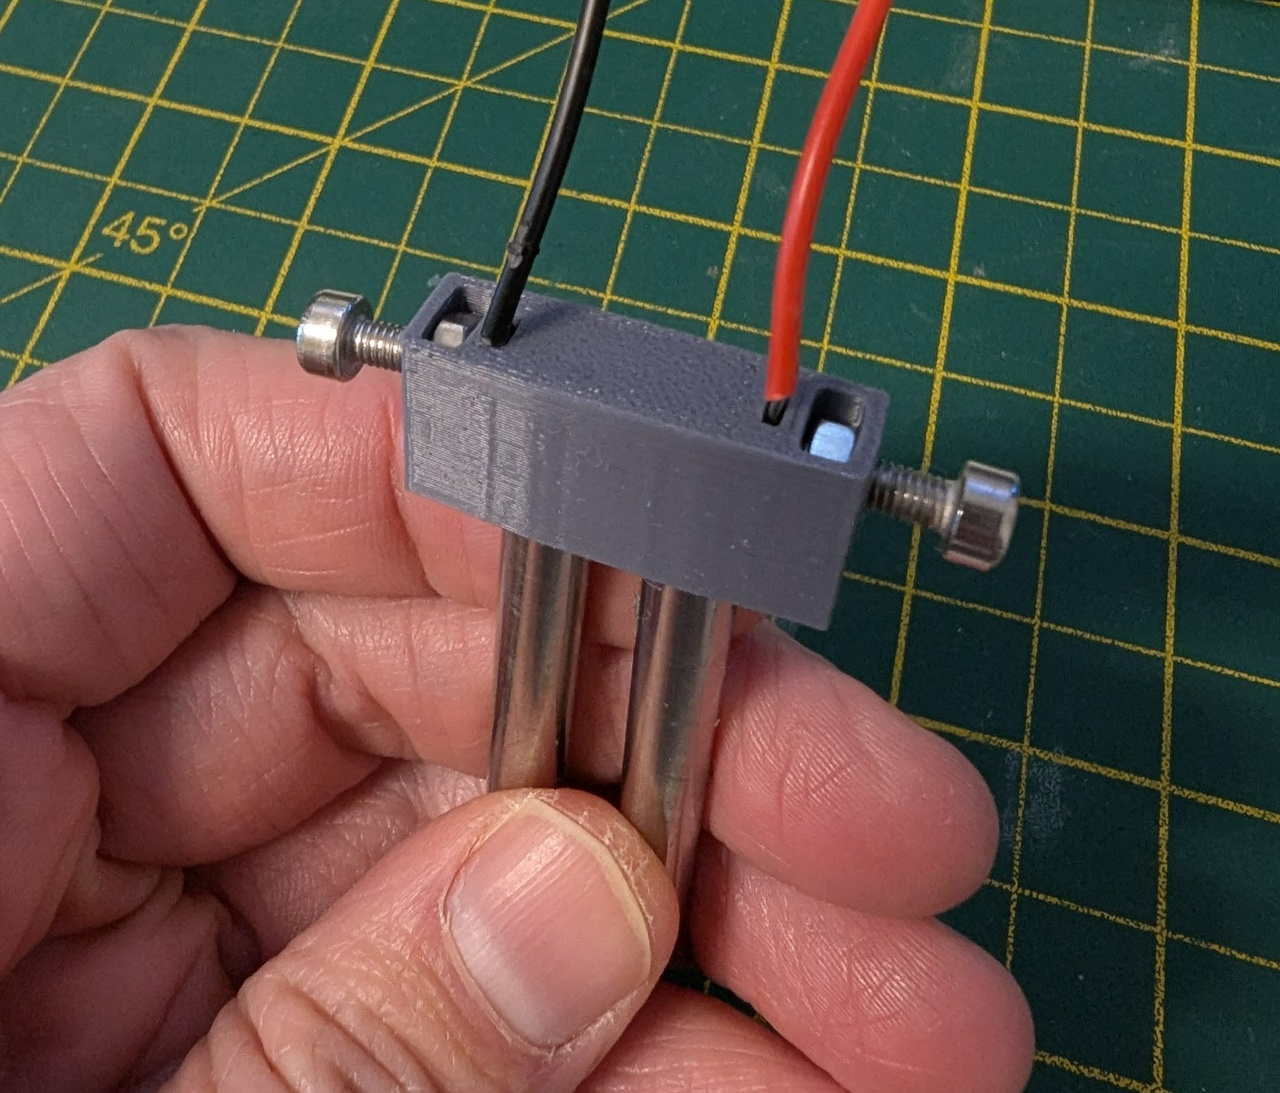
At LabCrafter, we've been working with AMYBO on building an add-on kit for the Pioreactor open-source bioreactor to perform gas fermentation, which we're calling the electroPioreactor. AMYBO, Imperial College London and the University of Edinburgh recently received some grant funding from the Cellular Agriculture Manufacturing (CARMA) Hub to build an affordable aseptic version of the electroPioreactor, and we're helping them by supplying the hardware! It's still early days, but you can follow along on GitHub.
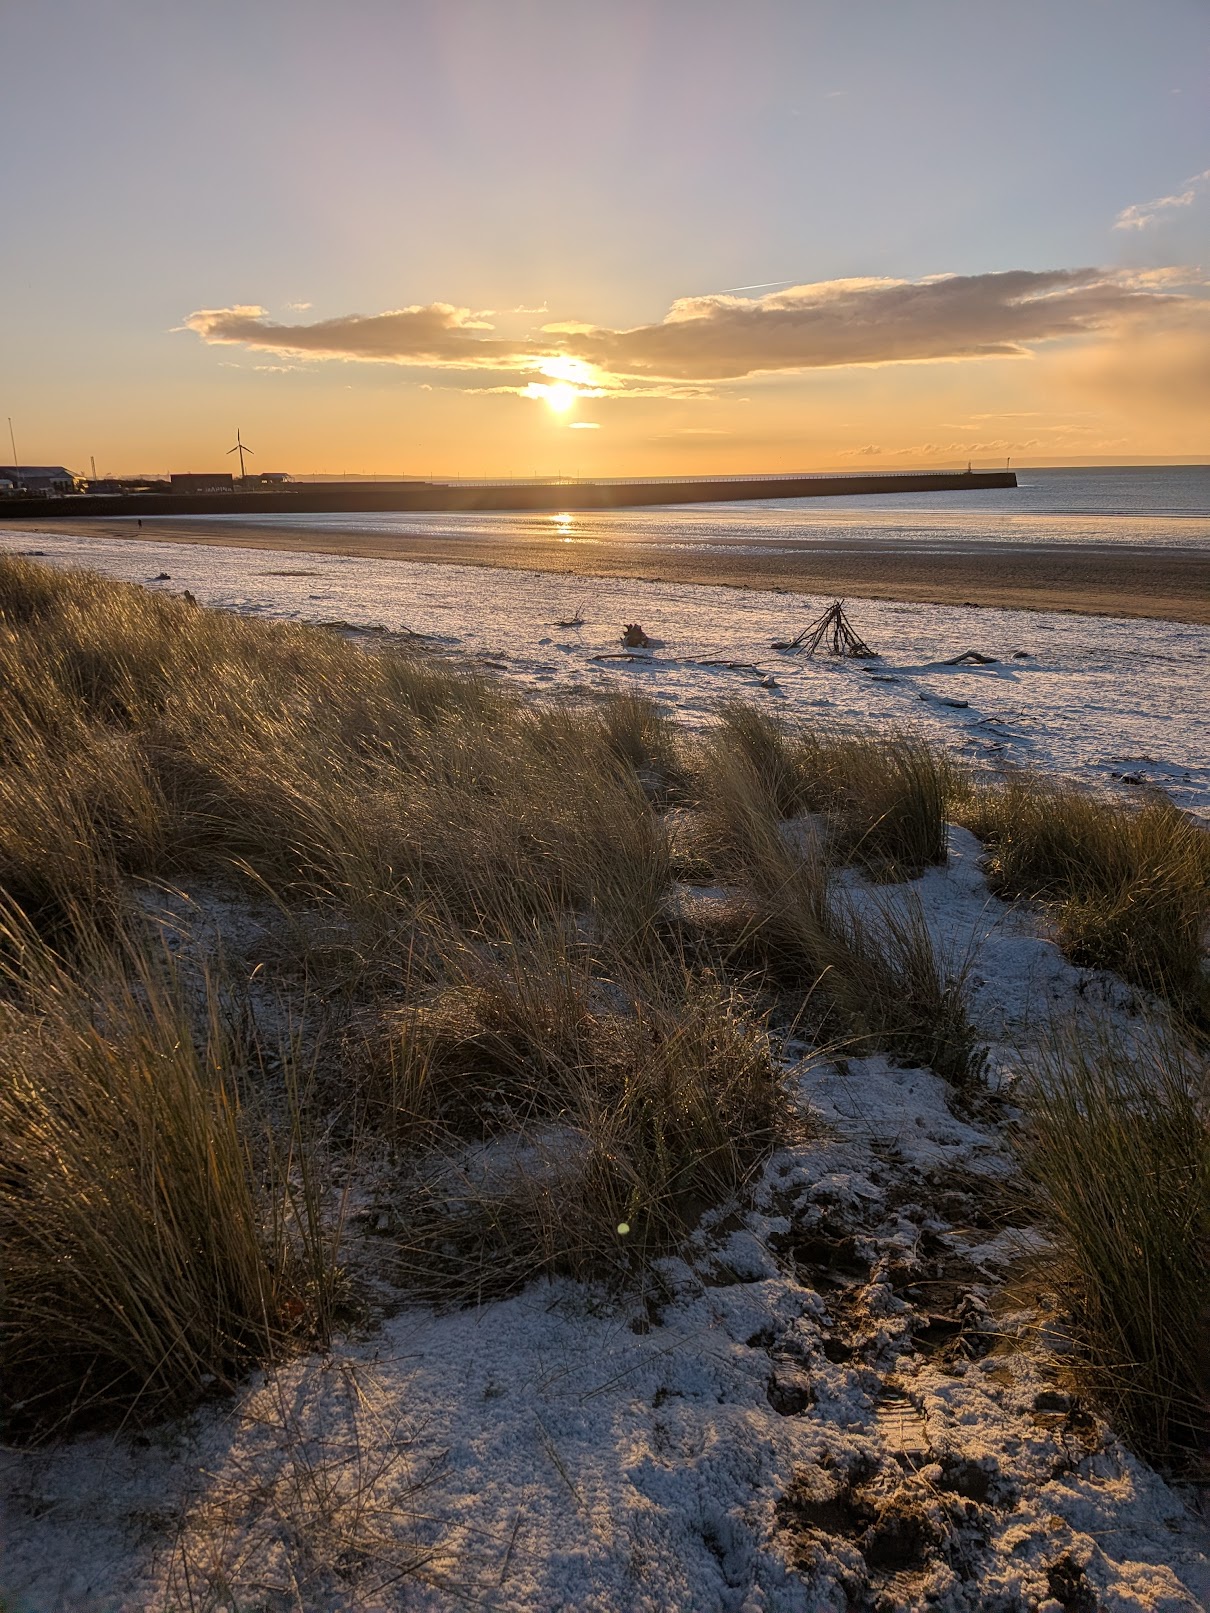
In more personal news, it's been snowing in Swansea this week! Even on the beach, for the first time in around 13 years I think.
Again, please get in touch in the comments if you have any questions or feedback!
I thought I'd start a weekly post to try and get into a rhythm with putting stuff out there again. I only managed to write one post in 2025, even though at the end of 2024 I set a new year's resolution to share more. Let's pretend 2025 didn't happen, and I actually do manage to share more thoughts in 2026.
What I've been reading this week
I'm currently reading at least four books in parallel:
How Life Works by Philip Ball
Introduction to biotechnology by William J. Thieman
The PARA Method by Tiago Forte
Behemoth by Joshua B. Freeman
Reading the first two books in parallel is actually quite fun. How Life Works is a narrative of what we know about biology and DNA, and it's a nice contrast to the textbook style of Introduction to Biotechnology that just describes everything matter-of-factly. Philip Ball was an editor the journal Nature for over twenty years, so when he describes things like introns you get to learn how we came to know they exist and how much exactly we know about them, instead of just seeing them annotated in a figure with a short explanation. I even learned that there is a Star Trek TNG episode called Genesis (Season 7, Episode 19) where crew members have their introns activated at random, causing them to devolve.
The PARA Method is a way of organizing digital information by Tiago Forte, the same guy who wrote Building a Second Brain. It's a short read, and I hope to be able to apply the methods in the book successfully. Something from the book that I found insightful is that it takes time and effort to make private notes shareable. Without adding context and additional definitions, private notes won't make much sense for others. For that reason, it makes most sense to put it the time and effort to share your notes when they're about something you're working on collaboratively with others.
Behemoth is about manufacturing, and it's taking me a while to get through it. I've thought about just abandoning it a couple of times, but every time I read from it I do feel like I'm learning something.
Highlights from this week
And with that I don't necessarily mean personal highlights, but things I've highlighted in articles or books I've read.
If I wanted a community, then I could build it myself.
I mean, in principle, it shouldn’t be too hard to do. Community has been the foundation of all of human society since the dawn of our species, so the playbook for how to build one had already been figured out.
I think it boils down to a few key ingredients: a community needs a common connection or interest. It needs a place for people to interact informally. And it needs a mechanism for new people to join, to prevent it from decaying over time.
Reading books before bed serves me. Doomscrolling doesn’t. Cooking hearty, protein-rich, simple meals serves me. Doomscrolling doesn’t. Buying new stuff rarely serves me, while repurposing old stuff or making my own stuff generally does.
Thoughts
I don't know if anyone else would find these writings useful. I'm not really planning on starting a newsletter – I just want a place to record what I'm doing, and do so publicly so that I'm forced to make it somewhat coherent. If there's ways you think I can improve, let me know in the comments!
Since starting our open science hardware company, LabCrafter, last year, I’ve been reflecting on the current state of open-source hardware. We're long past the heyday of the maker revolution, when it felt like a new open-source hardware project was being launched every minute. Even flagship projects like Prusa 3D printers have gone almost completely closed source, and Opentrons lab automation robots are no longer meaningfully open. On the GOSH (Gathering of Open Science Hardware) forums, the usual excitement and frenzied activity have been subdued lately. Many community biolabs in the UK, like the London Biohackspace and Cambridge Biomakespace, have gone dormant.
It was therefore with great relief when I attended the Open Hardware Summit (OHS) in Edinburgh a couple of weeks ago to see that the scene is still very much alive. Two days packed with amazing talks, engaging panels and hands-on workshops restored my faith in open-source hardware again.
Day 1: Talks
One of the first talks was by Alessia Romani, a postdoc in Joshua Pearce's FAST lab at Western University in Canada. Joshua's lab (previously the MOST research group at Michigan Tech) has long been a driver of open hardware in the scientific community, publishing their work on the Appropredia sustainability wiki and in the Hardware X academic journal (of which Joshua is the editor-in-chief). Alessia's talk introduced RepMat, an open-source materials library focused on circular, sustainable practices. I remember coming across the Institute of Making's materials library at UCL years ago, and I wish I'd asked Alessia how RepMat compares. My understanding is that RepMat's focus is specifically on recycled materials for 3D printing. We use recycled PLA for 3D printing the OpenFlexure microscope kits at LabCrafter, so having more folks focused on recyclable materials is very exciting!
One of the most energetic talks was by Andy Quitmeyer from the Mothbox Project. They developed a low-cost, high-performance insect monitor that uses moths as sensors for biodiversity. The Mothbox has already seen use in the jungles of Panama, and are now working with the Open Science Shop network (of which LabCrafter is a member) to get the latest version manufactured and distributed more widely.
Next up after the snack break I was delighted to learn that the Flow Battery Research Collective (FBRC) have been collaborating with Sanli Faez's group at Utrecht University. FBRC exemplifies how to build open science hardware on the internet, from integrating their forum and blog into the Fediverse, to using open-source platforms like Codeberg and GitBuilding to underpin everything. Sanli made a good case for shared ownership of the commons to achieve broad use, and I hope to see more folks moving in that direction. One of his slides had IBC tanks with flow battery stacks on top, which has interesting similarities with the PioFlo project at AMYBO. Just replace the flow battery stack with an electrolyser stack, and the IBC tanks can become bioreactors for growing hydrogen-oxidizing bacteria.
In a talk on building a spinning machine for biofibres by Eldy Lazaro Vasquez, I loved the use of an open-source syringe pump strapped to a frame and connected to a 3D printer hotend to spin fibres:
They used the biofibres to create woven sensors, like moisture sensors and pressure sensors, by combining gelatin biofibres with conductive threads and using different weaving techniques. The biofibres can easily be dissolved in warm water and you can then recover the conductive thread for recycling or reuse.
I also had the chance to share our latest work at LabCrafter, collaborating with the AMYBO community to grow food with electricity. Here's the full talk:
After lunch I really enjoyed Jerry de Vos and Santosh Ilmparuthi's talk on how they are turning useful projects at TU Delft, that weren't spun out into companies by the technology transfer office, into open hardware projects. It reminded me that universities need more open-source program offices (OSPOs), working not just on open-source software but on hardware as well. One of their slides featured a bioreactor, which reminded me of the UNLOCK Project, a connection I still want to explore further. Jerry also maintains the lovely Awesome Dutch Open Hardware list.
Gabriel Kiarie from the Centre for Data Science and Artificial Intelligence (DSAIL) in Kenya gave an insightful talk on developing low-cost open-source hardware for environmental monitoring in the African context, from bioacoustic sensors and camera traps to river water level monitoring and electric fence fault detectors. They even designed a power supply that gracefully shuts down a Raspberry Pi when the battery voltage in a solar-powered project gets too low, called PiWild.
The next talk by Oliver Child from the University of Bristol explored embedding PCBs into 3D prints. This adorable 3D-printed soil moisture sensor uses both conductive and insulating filaments to form the probes:
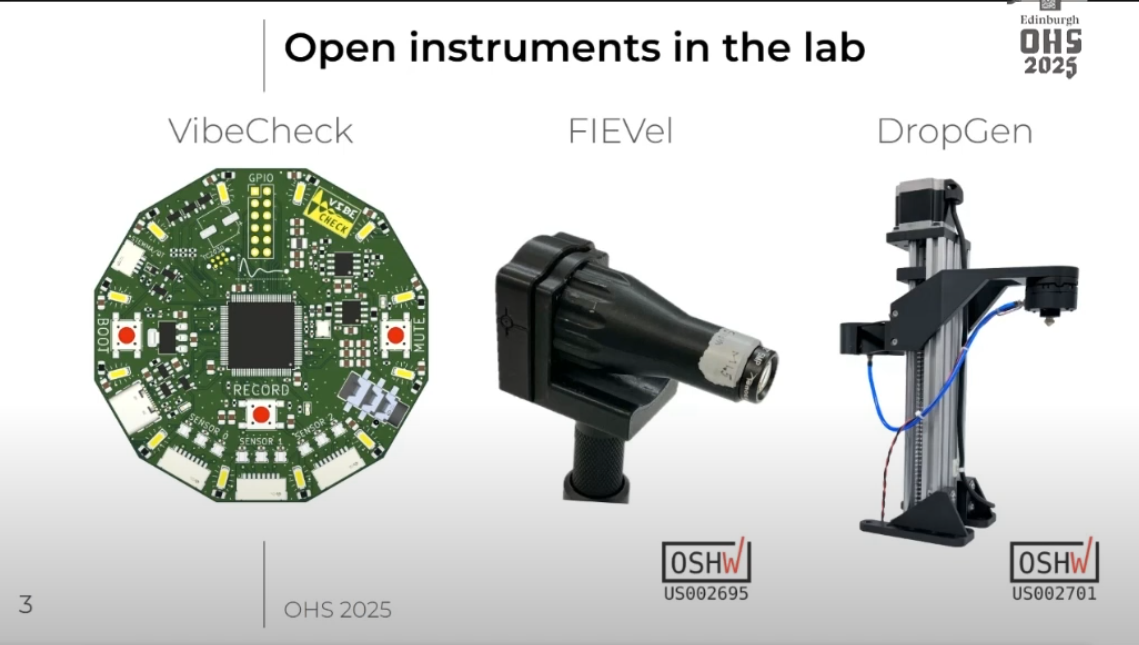
I was really excited for the talk about turning sensors into scientific instruments, and Eli Silver from Brown University did not disappoint. At Harris Lab they have developed a whole bunch of open science hardware, including a velocimeter based on an optical mouse sensor and a droplet generator. These are the kind of things we'd love to make available through LabCrafter in the future, so please get in touch if you're interested in these! Eli highlighted three essential pillars in transforming a dev board into a true scientific instrument: calibration, characterization, and user experience.
Day 2: Panels and workshops
Although I didn't get to attend the hands-on workshops, there were some really good panels at this year's OHS. I was blown away by the Open Source Environmental panel by Jo Walsh, Shannon Hicks, Débora Swinstun and Sasha Engelmann.
Jo spoke about her experience as a research software/hardware engineer working for the UK Centre for Ecology & Hydrology. I really like her idea of instrumenting the pond they have on site with sensors and how that can be done thoughtfully. She even gave a surprise shoutout to LabCrafter, GOSH, and OpenFlexure at the end of her talk.
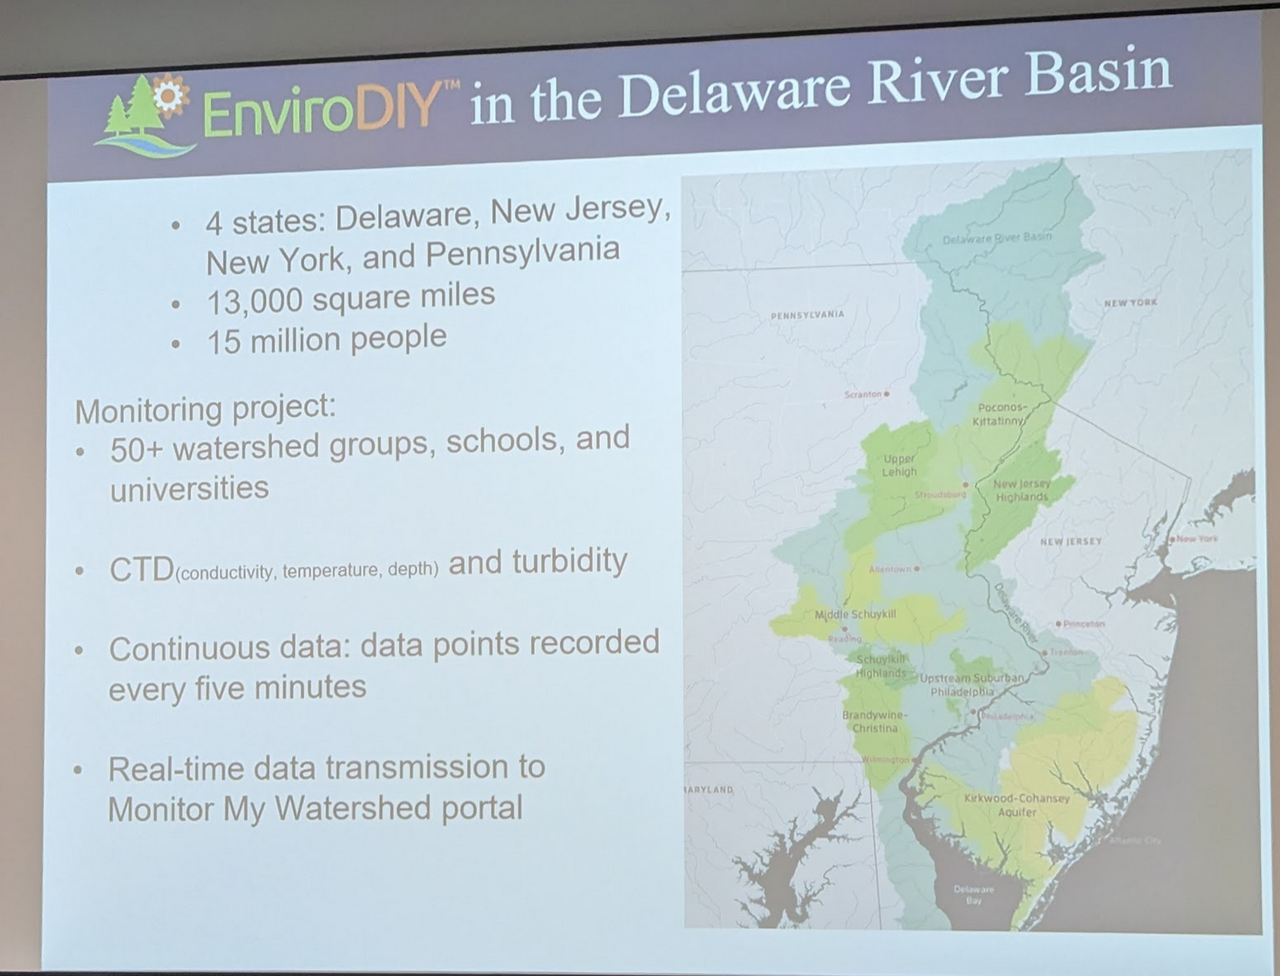
Shannon Hicks from the Stroud Water Research Center introduced us to EnviroDIY, a toolkit of open source hardware and resources for environmental monitoring. They've been running a forum for environmental monitoring since 2014.
They have a river quality monitoring project that covers the tributaries of the Delaware River Basin, as governmental monitoring stations only cover the main river. Through real-time monitoring they can discover things impossible to do with manual monitoring. For example, by looking at conductivity readings when it rains (and most people would do manual monitoring when it's not raining) they discovered grit salt runoffs that impacted the river, including a large salt deposit on a parking lot covered with a tarp that blew off.
They developed the Mayfly, an open-source data logger. It has an add-on socket for accessories like 4G/LTE, WiFi/Bluetooth or an OLED display, but its standout feature is support for commercial sensor probes. By making the Mayfly compatible with calibrated sensor probes that are already known to scientists, they don't have to do the sensor characterization and calibration themselves.
A good takeaway lesson was that a citizen science project needs committed volunteers to manage monitoring stations' ongoing maintenance, whether that's cleaning sensors, troubleshooting or quality control.
Débora Swinstun, an anthropologist from the National University of La Plata in Argentina, and Sasha Engelmann, a geographer at Royal Holloway in London, talked about their collaboration in air quality monitoring in Buenos Aires. Citizen science initiatives can be really challenging in countries like Argentina. For example, not being able to co-locate a sensor with a calibrated monitoring station can be a major obstacle.
The other panel I attended was on open source medical devices, with Anne Coburn and Chris Rexroth from COSMIIC Inc., Scott Smith from Openwater, Lukas Winter from Open Source Imaging Initiative and Rohit Gipta, an engineer from India.
COSMIIC is working on a modular implantable medical device released under open-source licenses. While they're not pursuing regulatory clearance for the general population, they do have an Investigational Device Exemption from the FDA to use it in research studies. They mentioned that spinning out COSMIIC from Case Western University as an open-source company was very challenging, and I think yet another reason for universities to have open source program offices (OSPOs) that also specialize in hardware, not just software. COSMIIC used the CERN-OHL-P-2.0 license for their hardware files, MIT license for their software and CC-BY-4.0 for their documentation. It's encouraging to see companies embracing permissive open licensing so comprehensively.
Scott Smith from Openwater talked about their open-source systems to use infrared and ultrasound for diagnosis and treatment, such as their Pulsed Speckle Contrast Optical Spectrometry (P-SCOS) system, Open Motion. Scott mentioned that 80% of the cost of a developing a new treatment is in clinic trials. The numbers are mind-boggling: more than $1B for drugs, and $50M-$100M for devices.
They use a CC-BY-SA-4.0 license for their hardware, an AGPL license for their software and a patent pledge to allow use of their 68 current and future patents.
Next up was Lukas Winter, who talked about their open-source MRI scanner. They've managed to build a portable system that can take MRI images of someone's head or extremities. With material costs around €30k, it’s far from hobbyist-level, but still orders of magnitude cheaper than commercial MRI systems.
There were lots of other talks and panels that didn't feature open science hardware, so have a look at this playlist on YouTube where all the OHS 2025 talks were made available.
With community biolabs like ASCUS in Edinburgh, LifeFabs in London, Genspace in the US and BioClub Tokyo in Japan still very active, I'm excited for the future of open science. OHS 2025 was a powerful reminder: you can’t just toss a new open-source project onto GitHub or Hackster and expect impact, you have to nurture a community around it.
I've always wondered how Cory Doctorow is such a prolific writer. Yesterday I discovered his blog post The Memex Method where he describes how he uses his blog as a memex, or a “second brain” as the productivity and knowledge management community calls it.
Every day, I load my giant folder of tabs; zip through my giant collection of RSS feeds; and answer my social telephones — primarily emails and Twitter mentions — and I open each promising fragment in its own tab to read and think about.
If the fragment seems significant, I’ll blog it: I’ll set out the context for why I think this seems important, and then describe what it adds to the picture.
I've been using Readwise for a long time to keep track of what I read. Whenever I highlight something in a book, a saved article or a blog post it gets saved to Readwise, and I get a summary email with random saved highlights every day to review. More recently, Readwise Reader makes it even easier by providing a single place to read RSS feeds, saved articles and e-books.
I have stored highlights from 48 books and 320 articles since I started using Readwise. Unfortunately, while it's good to review these highlights, I've never really done anything with them. Cory uses his blog fragments to synthesise books, essays, stories and speeches:
Blogging isn’t just a way to organize your research — it’s a way to do research for a book or essay or story or speech you don’t even know you want to write yet. It’s a way to discover what your future books and essays and stories and speeches will be about.
I've always wanted to use my blog as a second brain. I just had a look for when I saved my first article to Readwise. It was on 21 January 2020, so almost four years ago. Funnily enough, it was an article about how to make a memex! Here is the highlight I saved from that article:
If you do all your thinking in public, in venues where you always have to start from a presumption of zero familiarity with your other thought, you can't create complex thoughts at all.
This is the opposite of what Cory does, and I think where I've been going wrong these past four years. Here's what he says:
The genius of the blog was not in the note-taking, it was in the publishing. The act of making your log-file public requires a rigor that keeping personal notes does not. Writing for a notional audience — particularly an audience of strangers — demands a comprehensive account that I rarely muster when I’m taking notes for myself.
Very true. I've gathered lots of little personal notes over the years, but there's no rigour to them. I can't really use them to do anything. They're not complex thoughts! So here is a new year's resolution for 2025: Instead of squirrelling away personal notes in a private vault, share them on a blog with the world!
I'm on a train to London to give a talk on open-source scientific equipment at OpenUK London Meetup #19: Open Hardware this evening. Here are the slides for my talk:
I remember being inspired to look at soil after reading the first chapter of George Monbiot's book Regenesis, which describes in exquisite detail what you can find in the top six inches of earth.
Open science hardware is amazing. You download some instructions off the internet, buy a bunch of components and build an actual scientific instrument. Now you not only know exactly how it works because you put it together yourself, but also how to modify it if necessary.
I recently built my own colorimeter using the Open Colorimeter design by IO Rodeo. A colorimeter is a scientific instrument used to measure the intensity of a colour in a solution. The Open Colorimeter consists of an Adafruit TSL2591 Light Sensor and an Adafruit PyBadge inside a 3D printed enclosure. The light sensor is attached to a 3D printed cuvette holder, with a white LED light board attached to the other side. The sample is placed between the sensor and the light source, which allows the absorbance or transmittance of different wavelengths of light to be measured.
Colorimeters can be used to measure concentrations of pollutants in water for environment monitoring, or to ensure colour consistency of food, textiles or paint. They can also be used for soil measurements or biochemical assays.
IO Rodeo has a lovely tutorial on how to use a colorimeter to measure beer color. I don't have the 430nm LED mentioned in the tutorial, so I thought I'd try with a white LED board instead. Here is the distribution of wavelengths for the white LED according the datasheet:
There does seem to be enough luminous intensity around the 430nm mark that this should work. I bought some beers from our local Lidl, going with the supermarket brand for each style to make it easier for others to replicate the experiment. I measured the following absorbance values for four different beers:
Beer name
Beer style
Absorbance value
Birra Bionda
Lager
0.09
Hatherwood IPA
American IPA
0.24
Hatherwood Shark Bay
Amber ale
0.33
Hatherwood Porter
Porter
1.25
To calculate SRM (Standard Reference Method) beer colour for 430nm you would multiply the absorbance value by 12.7. Since we're using a different LED, I compared the values for the lager and IPA to that of the IO Rodeo experiment:
We already know that he slope of the line for 430nm is 12.7, and assuming the SRM for the lagers and IPAs are similar, we can calculate the slope of the line for the white LED source as 61.08. Using that as our multiplication factor, we can then calculate the SRM values:
Beer name
Beer style
SRM value
Birra Bionda
Lager
5.5
Hatherwood IPA
American IPA
14.7
Hatherwood Shark Bay
Amber ale
20.2
Hatherwood Porter
Porter
76.35
Our amber ale appears to have a similar SRM to IO Rodeo's Irish red ale (17.4), and the porter as a similar SRM to a Guinness stout (70.6), so it does appear to work pretty well. To be sure, we could use a spectrophotometer, but unfortunately I don't have one of those lying around. I'd like to eventually redo the experiment with a 430nm LED board to see if the results are the same.
Thoughts? Discuss... if you have a write.as account. Otherwise, e-mail me or get in touch on Mastodon!